

Our Artwork Guidelines
We know technical specs can be tough, so here are some guidelines for sending us artwork that flies straight to print, guaranteeing you the best-looking custom labels.
Keep It Sharp: Vector, High-Res, and CMYK Only
- Vector Required: Logos, text, and critical line work must be in vector format (.AI,.PDF,.EPS) for perfect scaling and sharp die-cutting.
- Raster High-Res: Any photos or raster graphics must be at least 300 DPI (dots per inch) at the final size to prevent blurriness.
- CMYK: Design everything in CMYK (the printing standard), as using RGB (screen colors) will cause unpredictable color shifts when printed.
Get the Cut Right: Bleed and Safety Margins
- The Die Line (The Cut): This vector shape defines the exact final edge of your label. It must be on its own separate layer, use a custom stroke colour named "CUTTER" and be set to Overprint.
- The Bleed (The Extension): Any background colours or graphics reaching the edge must extend at least 1.5mm past the Die Line. This prevents unprinted white edges if the material shifts during cutting.
- The Safe Zone (The Protection): Keep all critical text, logos, and barcodes 2mm inside the Die Line. Placing important elements here protects them from being accidentally clipped by the cutting tool.
Layer Up: Opaque White for Clear or Metallic Labels
- Why do I need a white layer?: If you are printing on a clear film or metallic foil, the standard CMYK inks are translucent—they’ll look faded without a solid foundation. This requires an opaque white underlay to make your colours pop.
- The Mask: Create a separate vector shape that perfectly covers only the areas that need the solid white base. The Layer: Create a new layer named ‘WHITE’ and move the white vector to it.
- Spot Colour Name: Define that vector shape with a custom spot colour named EXACTLY "WHITE" (yes, it’s case sensitive!). This "White" layer must be set to Overprint. This tells the press to print the white first, directly onto the material, and stack the colours on top—guaranteeing vivid, non-faded colours.
You can download a guidelines template PDF here & AI File here
Need some artwork help?
- If you've hit a tricky spot with your artwork, get in touch and we would be happy to assist.
- Email artwork@labelchase.co.uk
Proofing
- Please double-check you are happy with the content, we only check for printability.
- We’ll supply a digital proof for your approval before printing.
Sending Artwork
- Upload artwork in the basket when ordering OR email artwork@labelchase.co.uk
- Please use clear file names if possible (e.g., ProjectName_LabelSize_Date.pdf).
Not sure about something?
Just reach out using the contact details on our website and we’ll be glad to guide you through.
Contact Us
Frequently Asked Questions
How do I place an order?
You can place an order directly through our website by selecting your label type, size, material, and uploading your design. If you need some help, or cant find what you're looking for, get in touch via phone, live chat or email. We can stock custom materials for your label project.
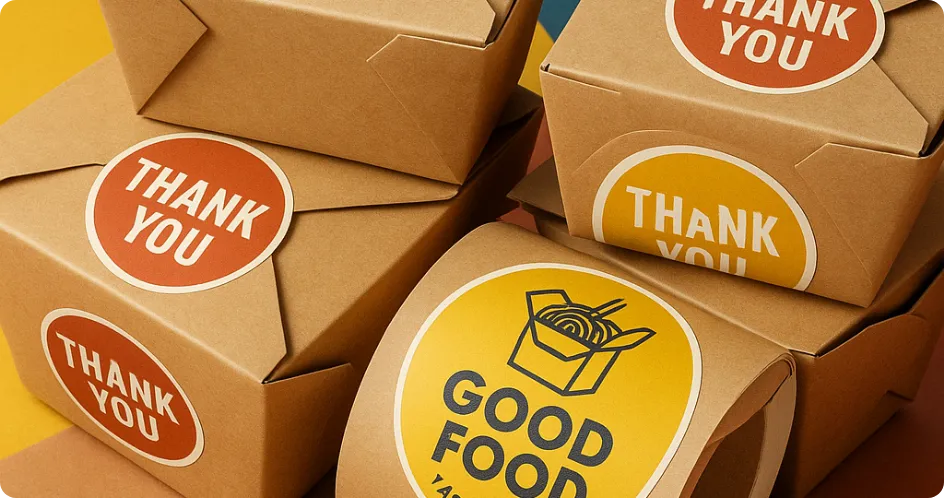
Can I order custom-shaped labels?
Absolutely! We use high-tech lasers, meaning we can produce just about any shape & size. Just choose the custom die-cut option during your order and make sure your die line is to your desired shape.
How long does it take to receive my order?
Our standard service will have your labels dispatched in 5 working days. Need them faster? Upgrade to express delivery and we'll accelerate that to 3 working days for dispatch. If you have a truly critical deadline, please get in touch. We're often able to accommodate urgent requests.
What if there’s an issue with my order?
Not 100% satisfied? Just let us know and consider it handled. We're committed to your satisfaction and we'll fix it. Get in contact via Live Chat, Email or Phone.

Calculate Instant Quote Within Seconds!
Calculate Now

